Optional
Building for iOS
Building for iOS requires a few extra steps:
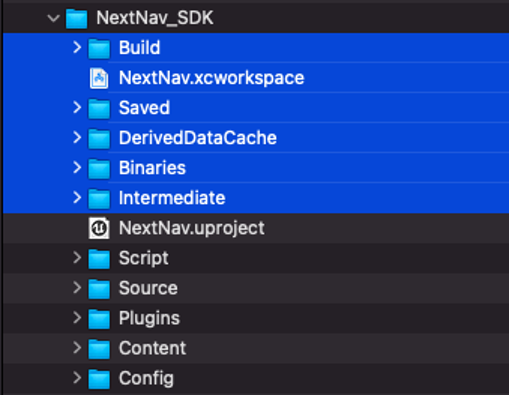
- After adding the plugin to your project, delete the following folders: Saved, DerivedDataCache, Binaries, Intermediate and the xcodeproject file.
- Open the project and re-build the files.
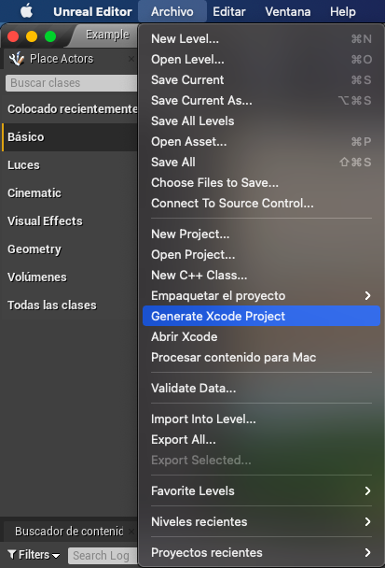
- Generate the xcode project
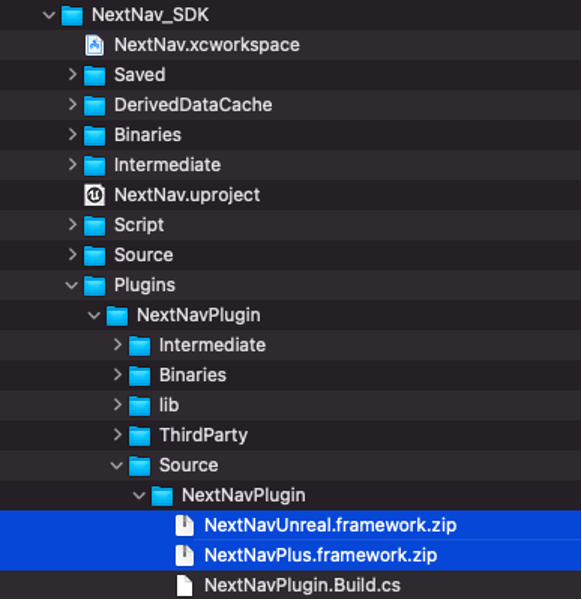
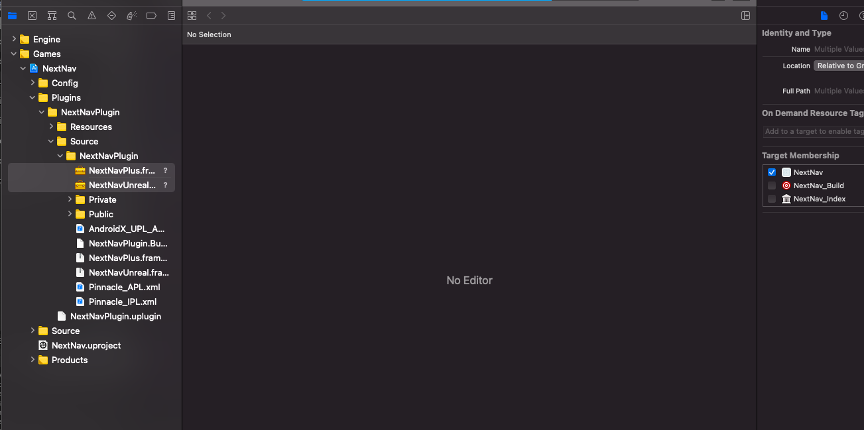
Unzip the frameworks located in NextNavPlugin/Source/NextNavPlugin/:
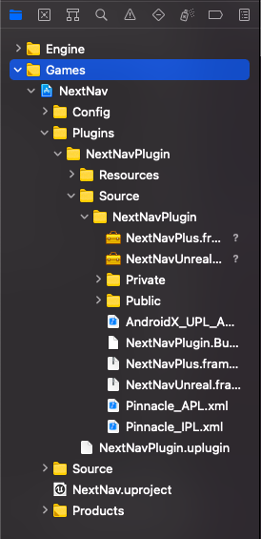
- Open the xcode project and add the frameworks by dragging the unzipped files to xcode, it should look like this:Create the xcode workspace.
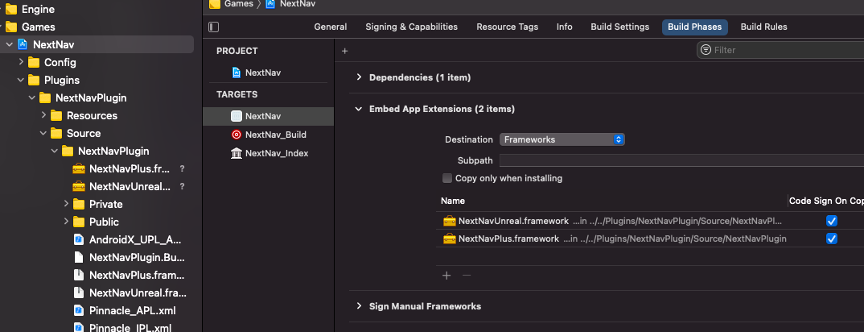
- Add the target “Your project name” to the frameworks (in this example is NextNav):
Go to the project setting on xcode – Build phases and change the path from Plugins to Frameworks on Embed App Extensions
- Now you can build target iOS from unreal and after the build successfully you can test the app from xcode too.
- You need to add this on your ProjectSettings/iOS

<key>NSLocationWhenInUseUsageDescription</key>
<string>Your current location will be used to calculate height</string>
<key>NSMotionUsageDescription</key>
<string>Your motion Activity will be used to calculate height</string>
Important: If you want to launch your app to the AppStore or Testflight you will need to request Apple approval to use the SensorKit, otherwise you won’t be able to create the provisioning profile with the entitlement. The app will crash when you try to open it without the profile entitlement.
Building for Android
- You need to add this nodes on Project Settings/Android/Advance APK Packaging:
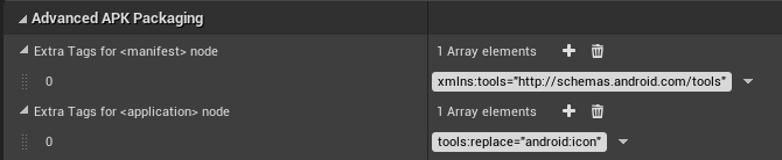
Extra tags Manifest: xmlns:tools=”http://schemas.android.com/tools”
Extra tags Application: tools:replace=”android:icon”
This is to avoid merging errors with the app icon.
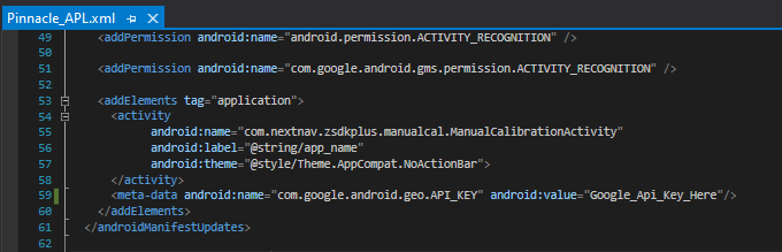
- You need a google maps key and add in “Pinnacle_APL.xml” located in NextNavPlugin/Source/NextNavPlugin/
Which sdk versions should I use?
The min sdk supported is 21 and the target sdk supported is 29 or earlier.
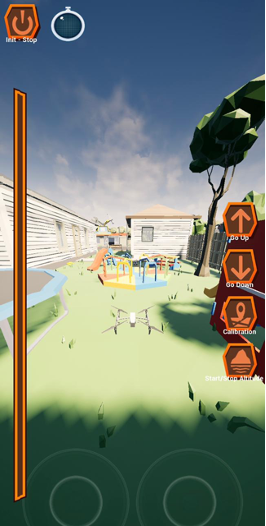
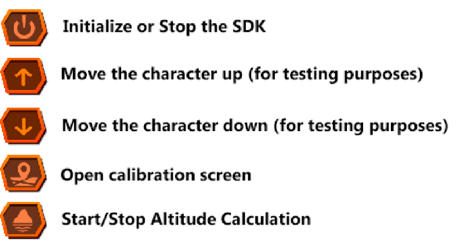
Testing the Demo Scene
The plugin includes a Demo Scene that can be used as the starting point for learning to use the SDK. It contains a UI that follows the steps of the flow described in the Understanding the Plugin section well as multiple examples of how the altitude data can be displayed inside a Game environment:
- On an altitude UI,
- Directly on the World/Character,
- As text on a Log section.
Make sure to explore the provided scripts to better understand how the plugin works.
You can open the Demo scene located in NextNav/Scenes and see how it works.
Creating the Google Maps API Key
Below is a summary of steps to get you started. Reference the Link for the official Google documentation.
- Open the Google Developer Console – Link
- You will need an account so create or use one that you already have
- Then create a project that will have the linked google api key
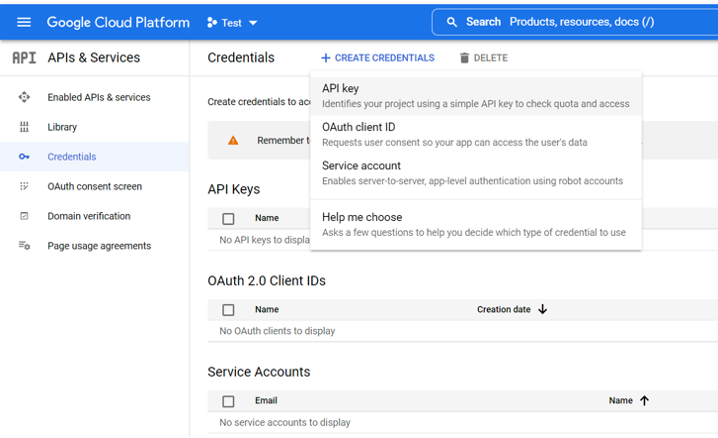
- Go the left panel on the top and select Api & Services / Credentials, then create new credentials like this:
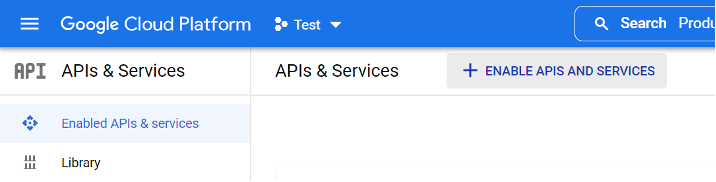
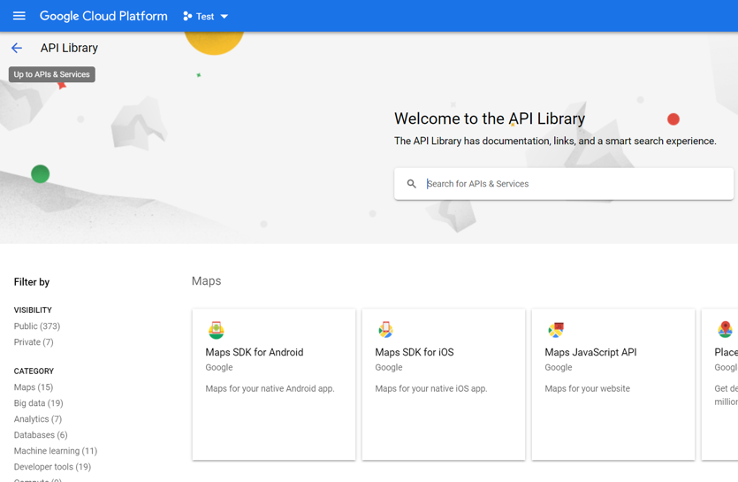
- Then go again to Api & Services but now select Panel and click on “Enable Api & Services”
- Now search for “Google Maps iOS” & “Google Maps Android” and enable both to be able to use google maps calibration screens in the plugin.
- Done! Now you can use the Google Maps API in your project.